
This website contains affiliate links. Some products are gifted by the brand. As an Amazon Associate, I earn from qualifying purchases. The content on this website was created with the help of AI.
While I share money-making strategies, nothing is "typical", and outcomes are based on each individual. There are no guarantees.
Welcome, friends! I’m Lori Ballen, and today, I’m pulling back the curtain on my secret workflow—the one that lets me crank out 5 blog posts and 50 Pinterest pins in just 2 hours. It’s all about strategy, automation, and focusing on progress over perfection. I’ll walk you through every step so you can replicate this for your own blog. Let’s get rolling!
Step 1: Picking a Topic That Works
Traffic starts with the right topic. If no one’s searching for it, no one’s clicking on it.
How I Do It
I start by scanning my old blog posts. I look for anything that’s still relevant or could be refreshed. Sometimes, just one line in an old post sparks a whole new angle. For example, I found a post on a vacuum sealer kit, which led me to meal prep.
Then I head to PinClicks to research Pinterest keywords. I type in the core topic and look for trending long-tail phrases like “easy meal prep,” “meal prep for beginners,” or “keto meal prep ideas.” I plug those into a notes doc and start mapping out a content angle.
Next, I create a broad Pinterest board for the topic — like “Easy Meal Prep” — and plan to break it into sub-boards later if traffic grows.
Why This Works
This process keeps my content aligned with real search behavior. I’m not guessing — I’m building content I already know people want. That’s the key to driving traffic from day one.
Step 2: Writing the Blog Posts (Fast!)

Here’s where the magic happens. Writing 5 blog posts in 2 hours? It’s 100% doable when you leverage AI to your advantage.
How I Do It
I start with Harpa to scrape top-performing Pinterest pins related to my niche (like meal prep). Then I feed those into ChatGPT to generate clickable, list-style blog titles. Example: “13 Mistakes to Avoid for a Perfect Meal Prep Week.”
I run the title through my AI blog prompt in ChatGPT, which builds out the post with a strong intro, actionable sections, and “Picture This” prompts that I’ll use for visuals later.
Once the draft is ready, I paste it into WordPress, tidy up the formatting, set the featured image, and hit publish. No over-editing. The goal is momentum, not perfection.
Why This Works
This method gives me high-value blog content in minutes. I’m not starting from scratch, and I’m not overthinking. I write, publish, and move on — because traffic can’t come from drafts.
Step 3: Batch-Creating AI Images

Pinterest is a visual platform, so the images need to be scroll-stopping. This is where AI saves the day.
How I Do It
As I write each blog post, I include a “Picture This” prompt under every section to describe what the visual should look like. I extract those prompts using Harpa and drop them into a spreadsheet.
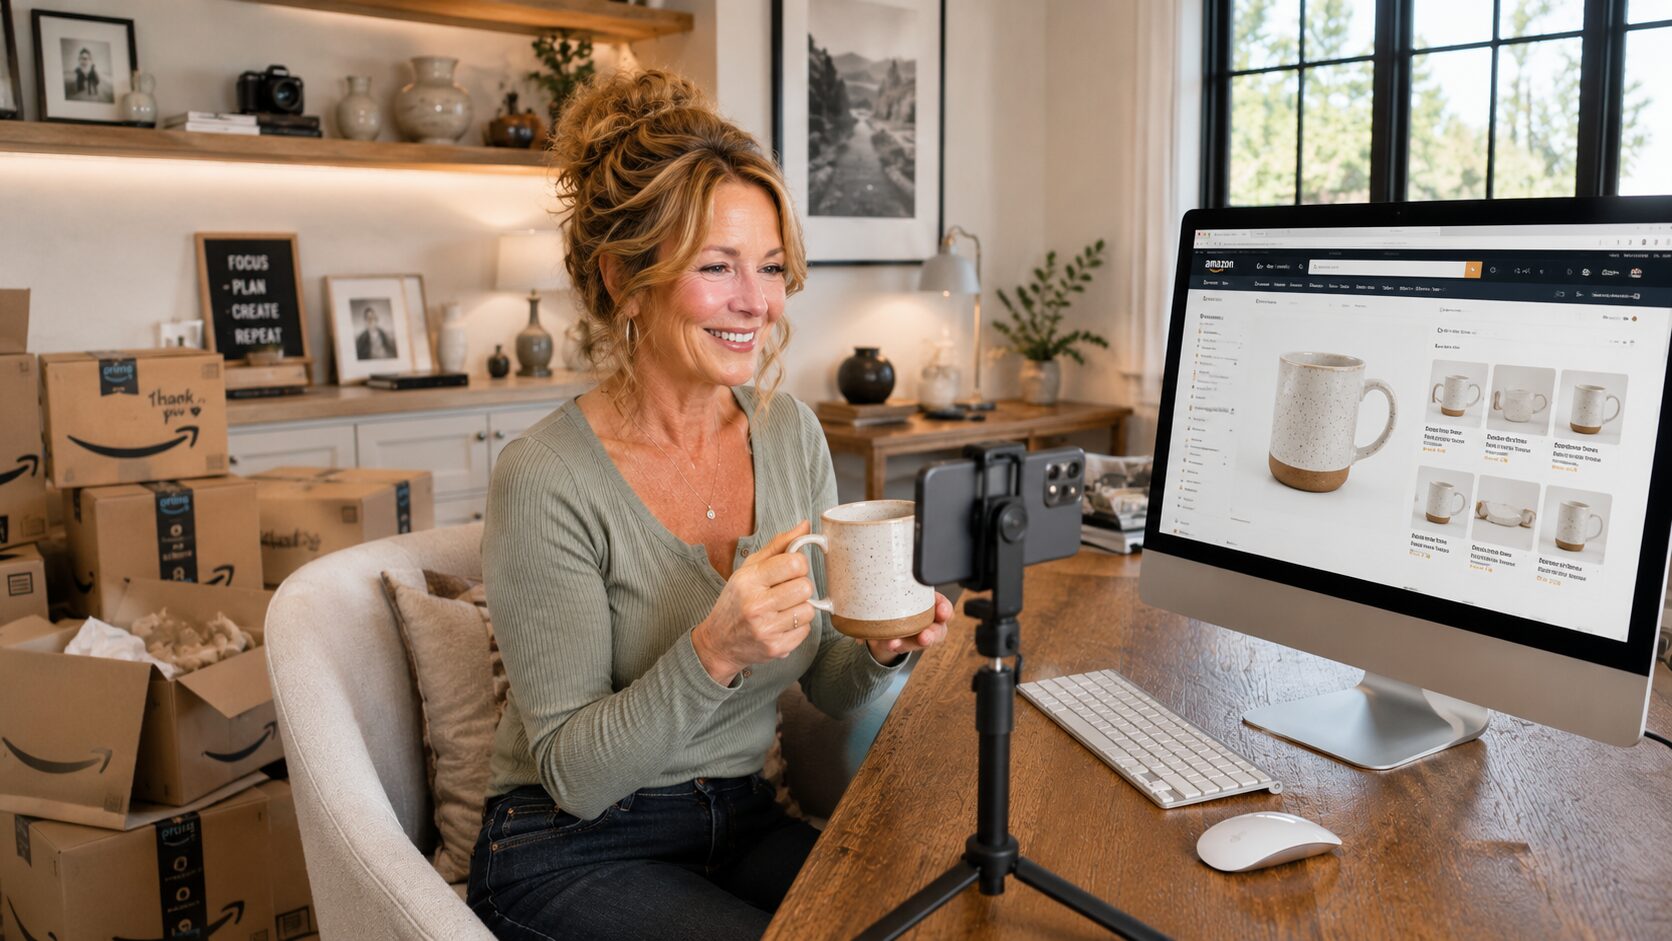
Then I upload that list into Ideogram. It batch-generates 4 images per prompt, giving me plenty of options to choose from. I pick the best ones and insert them into the blog post where they naturally fit.
For Pinterest, I create an additional vertical (9:16) version of each image and optimize the alt text with descriptive keywords.
The Pinterest Power Stack is your proven blueprint for transforming a single blog post into a high-traffic machine. Learn how to create multiple microblog posts that each generate their own traffic and engagement on Pinterest. This system uses Lori’s favorite tools to automate and streamline the process, but you're welcome to follow the steps manually if you're working with a smaller budget or prefer using your own tools. Whether you’re a beginner or an advanced creator, this guide provides the flexibility to scale at your own pace.
What’s Included:
- A comprehensive, step-by-step guide to creating pillar blog posts and spinning them into micro blog posts that attract Pinterest traffic.
- Instructions on how to schedule and optimize pins for long-term, consistent traffic.
- Insight into Lori’s tools like Harpa, Ideogram, and Tailwind for automating the process, with suggestions for manual methods if you’re on a budget or prefer using your own tools.
- Best practices for linking micro posts back to the pillar blog, building SEO, and maximizing Pinterest reach.
Bonus:
- Time-saving tips and actionable strategies to help you scale your Pinterest content and keep it relevant over time.

Why This Works
Instead of spending hours designing pins, I get dozens of on-brand visuals in minutes. They’re Pinterest-ready, unique to each post, and built to drive clicks.
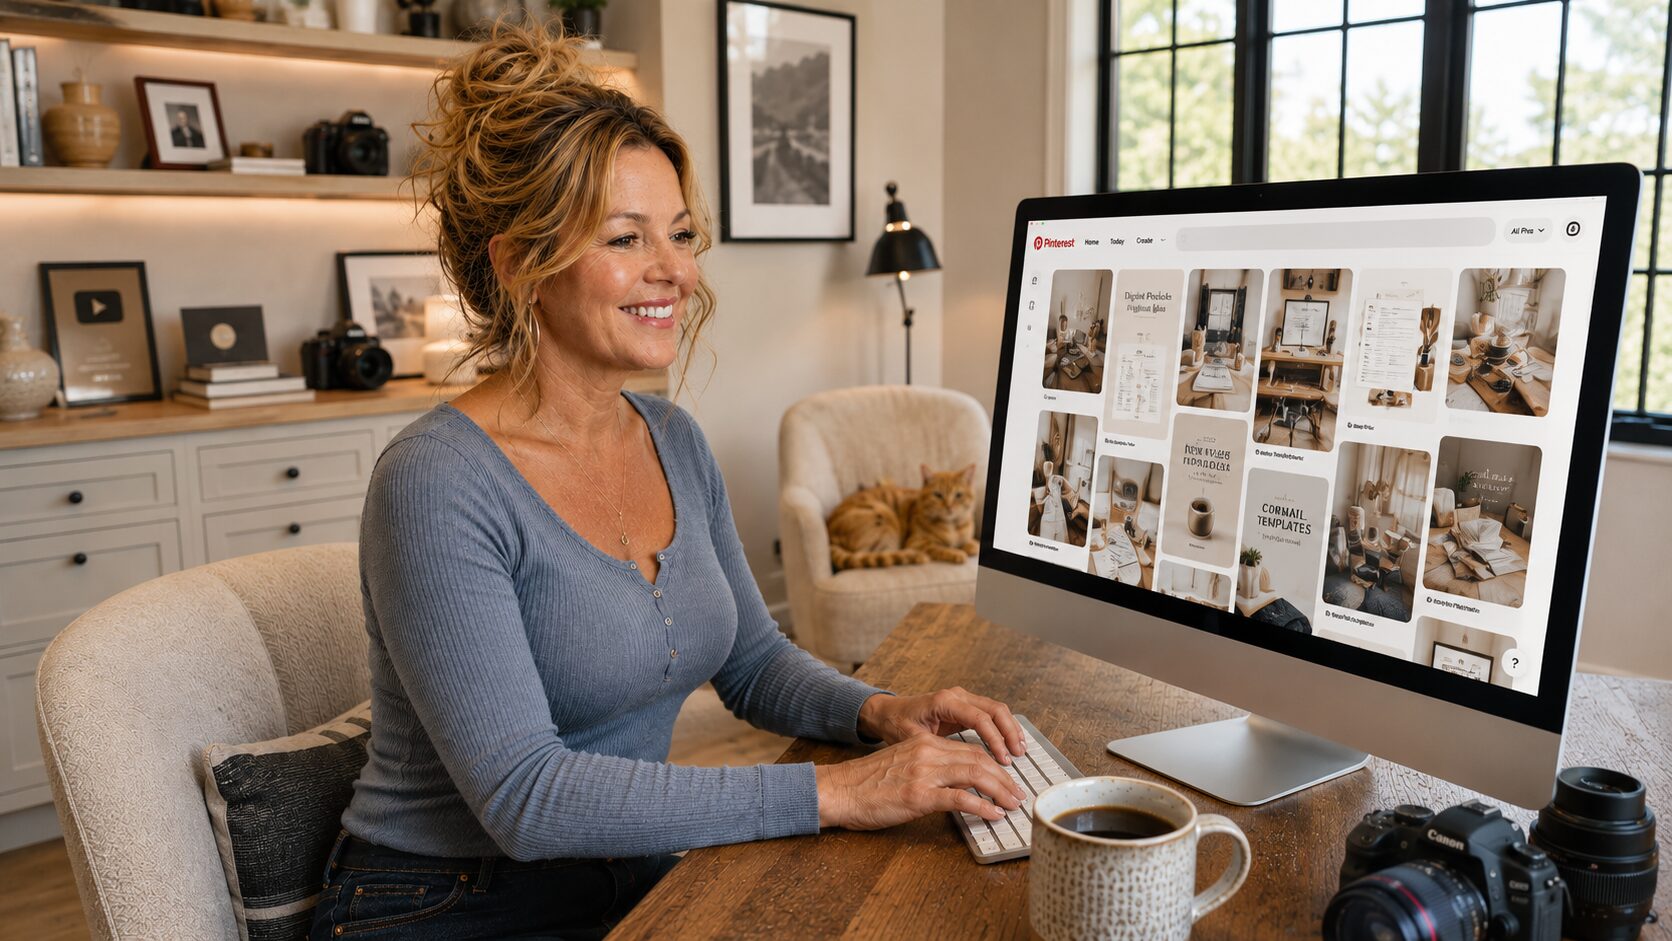
Step 4: Scheduling Pins on Pinterest

Pinterest is my go-to traffic driver, and Tailwind makes it easy to stay consistent without daily effort.
How I Do It
I open the blog post and use the Tailwind browser extension to pull in all the images I created earlier. I schedule each image as a pin, assigning them to the most relevant Pinterest board (like Easy Meal Prep). I spread them out — usually one per week — to keep content circulating without flooding the feed.
Tailwind automatically pulls in the alt text I already optimized in the blog post, so the pin descriptions are done and keyword-rich without extra work.
Why This Works
Pinterest rewards consistency, not volume dumps. Spacing out pins keeps my blog content in circulation and builds steady, long-term traffic.
Step 5: Scaling the Process

The real magic happens when you scale this system. One blog post becomes a traffic machine—multiply that and you’re building momentum fast.
How I Do It
When a specific topic (like “Keto Meal Prep”) starts gaining traction, I double down. I create an entire Pinterest board around it and write more blog posts to support it. I go back into each post and add affiliate links to relevant products—like meal prep containers or kitchen gadgets—to start monetizing the traffic.
Once the system is running smoothly, I hand off parts of the workflow to a virtual assistant. I give them my documented process so they can handle things like uploading images, writing alt text, and scheduling pins.
Why This Works
Scaling turns a single win into a content engine. More boards, more posts, more pins—all working together to drive traffic and income while I focus on strategy.
Final Thoughts
This workflow has completely transformed how I blog and use Pinterest. In just 2 hours, I can create 5 high-quality blog posts, 50 pins, and set everything up for weeks of steady traffic. It’s fast, effective, and easy to scale.
If you’re ready to supercharge your content creation, give this workflow a try! And if you want to dive even deeper, I’d love to have you in my coaching program, where I share all my prompts, templates, and strategies to help you work smarter, not harder.
Let me know how it goes—and happy blogging!
Discover more from Lori Ballen Digital Marketing
Subscribe to get the latest posts sent to your email.


