This website contains affiliate links. Some products are gifted by the brand. As an Amazon Associate, I earn from qualifying purchases. The content on this website was created with the help of AI.
While I share money-making strategies, nothing is "typical", and outcomes are based on each individual. There are no guarantees.
How to Bulk Schedule Pinterest Pins Using Tailwind and Ideogram
I batch my Pinterest pins once a week.
One session, roughly two hours, and my account stays active every single day for the next seven to ten days without me touching it again.
No daily logging in. No scrambling to post something. No gaps in my pinning schedule because life got busy.
That’s what bulk scheduling does. And the two tools that make it work for me are Ideogram for creating the images and Tailwind for scheduling them.
Here’s the exact workflow.
Why Bulk Scheduling Works Better Than Daily Pinning

Consistency is what Pinterest rewards.
Not volume. Not viral moments. Consistent, steady activity from an account that covers a focused topic.
The problem with daily pinning is that it depends on you showing up every day. Miss a few days and your reach drops. Get busy and your whole Pinterest strategy falls apart.
Bulk scheduling removes that dependency. You show up once. You do the work. Then Tailwind handles the rest and Pinterest sees an account that never goes dark.
There’s also a quality argument. When you’re creating pins in a batch, you get into a flow. You’re not switching context every day — you’re in creation mode for two hours straight and your pins come out better because of it.
What You Need Before You Start
Three things:
An Ideogram account. This is where you generate the pin images. Ideogram handles text-on-image better than most AI image tools, which matters for Pinterest pins because the headline on the image is part of what gets the click.
A Tailwind account. Tailwind connects directly to your Pinterest account and spaces your pins out on a schedule. It also lets you assign pins to multiple boards with a time gap between them so you’re not spamming the same URL everywhere at once.
A list of posts you want to drive traffic to. Don’t go into a batch session without knowing what you’re pinning. Pull your top 10 posts by traffic from Google Analytics. Those are your priority pins. The highest-traffic posts get pinned first and most often.
Step 1: Create Your Pin Images in Ideogram
Ideogram is where the session starts.
For each post you’re pinning, you need at least three image variations. Different visual styles, different headline angles, same URL. This matters because Pinterest penalizes duplicate content — three different images for the same post look like fresh creative to the algorithm.
The prompt formula I use:
Every Ideogram prompt I write for Pinterest pins follows this structure:
Vertical Pinterest graphic, 1000x1500px. [Background and color palette description]. [Scene or flat lay description]. Bold [font style] headline text overlaid in [color]: “[Your pin headline]”. Subtext below in smaller sans-serif: “[Supporting line]”. Bottom of image: loriballen.com in small muted text. Clean, editorial, aspirational. No people. Photorealistic.
Example:
Vertical Pinterest graphic, 1000x1500px. Soft warm white background with blush and gold accents. Styled flat lay of a feminine home office desk — rose gold laptop, open planner, small vase of dried florals, warm morning light. Bold elegant serif headline text overlaid in navy: “How to Make $500 a Month With Pinterest Affiliate Links”. Subtext below in smaller sans-serif: “The exact system I use”. Bottom of image: loriballen.com in small muted text. Clean, editorial, aspirational. No people. Photorealistic.
Color palette to stay consistent:
- Warm whites and creams as the base
- Rose, blush, and dusty pink accents
- Navy for headline text
- Gold or warm brass for detail elements
Consistency across your pins builds brand recognition. Someone who sees your pins regularly should be able to recognize your style before they read your name.
Creating three variations for one post:
Pin 1: Warm flat lay scene, serif headline, benefit-focused title (“How I Made $X With Pinterest Affiliate Links”)
Pin 2: Different color accent, cleaner background, number-format title (“5 Pinterest Boards That Drive Affiliate Income”)
Pin 3: Bolder text treatment, slightly different scene, how-to format title (“How to Set Up Your Pinterest Affiliate Strategy in a Weekend”)
Generate all three. Download them. Name the files something you’ll recognize when you’re uploading to Tailwind — I use the post slug plus the pin number. “pinterest-affiliate-boards-pin1.jpg” is easier to manage than “image-3847292.jpg.”
Step 2: Write Your Pin Titles and Descriptions
Do this before you open Tailwind. It’s faster to write everything in a doc first and paste it in than to write on the fly inside the scheduler.
Pin titles:
Under 100 characters. Primary keyword first. Use one of these four formats:
- Number: “7 Pinterest Boards Every Affiliate Marketer Needs”
- How-to: “How to Make Passive Income on Pinterest With Affiliate Links”
- Benefit: “The Pinterest Strategy That Brought Me $6,700 in Affiliate Income”
- Question: “Why Your Pinterest Pins Aren’t Making Money (And How to Fix It)”
Each of the three pins for a post gets a different format. Never repeat the same structure across variations for the same URL.
Pin descriptions:
150 to 300 words. Lead with a result or a blunt statement — never “Are you looking for…” or “In this post I’ll show you.”
Structure:
- Hook (result, number, or problem)
- What the reader will learn or get — specifically
- 5 to 8 keyword phrases at the end, comma-separated
No emojis. Write in a direct, no-fluff voice. The description is also a keyword field — Pinterest indexes it.
Write the title and description for all three pin variations for each post before moving to Tailwind. Batch this the same way you batched the images.
Step 3: Load Everything Into Tailwind
Open Tailwind. Go to Publisher, then Create New Pin.
For each pin:
- Upload the Ideogram image
- Paste the destination URL — the full blog post URL, not your homepage
- Paste the pin title
- Paste the description
- Select the primary board
- Set the schedule time using Tailwind’s SmartSchedule — it automatically picks your best-performing time slots based on your account’s historical engagement
Then add the pin to your Tailwind queue. Don’t publish immediately. Let Tailwind space it out.
For secondary board scheduling:
After scheduling the pin to the primary board, create a second instance of the same pin — same image, same description — and assign it to the secondary board. Set this one to post 7 days after the primary board posting.
Why 7 days? Pinterest’s spam filter flags accounts that post the same URL to multiple boards in quick succession. A 7-day gap between primary and secondary board looks natural.
Spacing rules:
- No more than 2 pins to the same URL in the same week
- Space pins to different URLs at least 1 to 2 days apart
- Aim for 10 to 15 pins per week total across all posts
Tailwind’s SmartSchedule handles the time-of-day optimization automatically. Your job is just to load the content and set the board assignments.
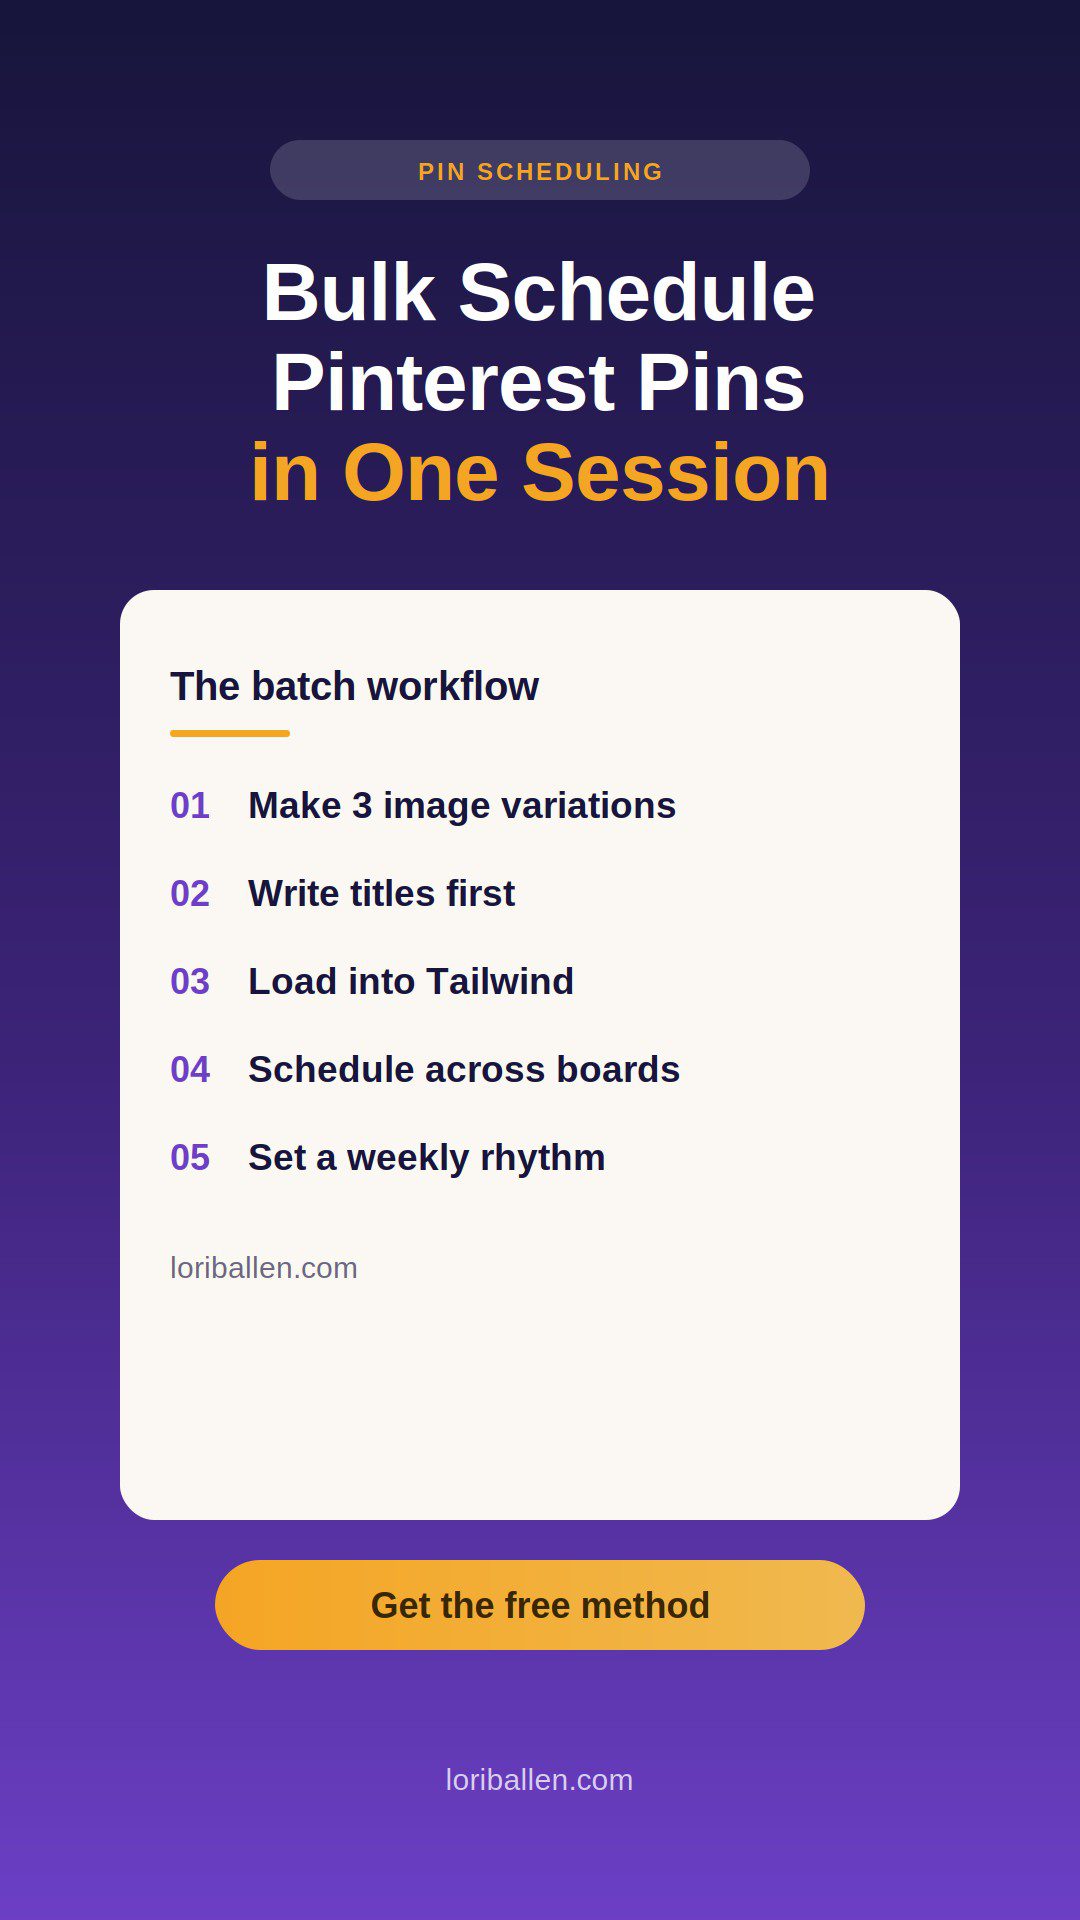
Step 4: Set Your Weekly Pinning Rhythm
This is the part that turns a one-time effort into a system.
Every Monday (or whatever day you choose), you run the same session:
- Pull your top posts by traffic from analytics
- Create 3 images per post in Ideogram for the top 3 to 5 posts
- Write titles and descriptions in a doc
- Load into Tailwind and schedule
One session. One week of Pinterest activity handled.
After you’ve done this for four to six weeks, you’ll have a queue deep enough that missing a week doesn’t kill your momentum. That buffer is the goal. Once you have two to three weeks of pins scheduled ahead, you’re running the long game.
How to Prioritize Which Posts to Pin
Not every post gets equal pinning attention.
Highest priority: Posts with affiliate links that are already getting some traffic. These are proven — the topic resonates, the post converts, you just need more eyeballs.
Second priority: New posts within the first 30 days of publishing. Pinterest gives new content a temporary boost. Take advantage of it by pinning heavily in the first month.
Third priority: Posts on topics with high Pinterest search volume that aren’t getting enough traffic yet. Use Pinclicks to identify these. High search volume plus your post not ranking yet means more pins can shift that.
Lowest priority: Evergreen posts that are already ranking well and getting consistent traffic. These still get pins — just less frequently. One new pin variation every 60 to 90 days keeps them circulating.
The Board Assignment System
Every pin needs a primary board and a secondary board. Never leave secondary blank.
Match the pin topic to the board topic as tightly as possible. A pin about Amazon affiliate income goes to your Amazon Influencer board first, then to your Affiliate Income or Make Money Online board second.
Pinterest uses board context to understand what your pin is about. A pin about Amazon affiliate income saved to a board called “Random Stuff” gets no relevance signal. The same pin saved to “Amazon Influencer Program” tells Pinterest exactly who to show it to.
Keep a simple reference doc with your board list and the topic categories each board covers. Before each batch session, glance at it and assign boards in your description doc before you even open Tailwind. Faster and more consistent than deciding on the fly.
What to Do When Ideogram Gets It Wrong
Ideogram doesn’t always nail the image on the first generation.
The headline text is the most common failure point — it can render blurry, misspelled, or awkwardly placed. If the text is off, regenerate before downloading. Don’t use a pin image with unreadable or incorrect text. That’s the first thing a reader sees and if it’s wrong it kills the click.
If the scene feels too generic or too stock-photo, add more specificity to the prompt. Instead of “feminine desk scene,” try “rose gold laptop half-open, espresso in a white ceramic cup, dried pampas grass in a glass bud vase, soft window light from the left.” More detail equals more distinctive output.
Generate two or three variations of each prompt and choose the strongest one. Ideogram is fast enough that this doesn’t add significant time to your session.
Tracking What’s Working
After 30 days of consistent bulk scheduling, check three things in Tailwind and Pinterest analytics:
Outbound clicks by pin. Which specific pins are driving people to your blog? Those headlines and visual styles are working. Make more pins like them.
Outbound clicks by board. Which boards are sending traffic? Double down on content for those board topics.
Saves by pin. High saves with low clicks usually means the image is attractive but the headline isn’t connecting. Rewrite the title for the next variation.
These three data points tell you what to create more of in your next batch session. The workflow stays the same — the content inside it gets sharper every week.
FAQ
How many pins should I create per post?
Start with three per post. Once you’ve been pinning consistently for 60 to 90 days and you can see which posts are getting traction, create a second round of three new variations for your best performers. Fresh creative on proven content is one of the highest-return things you can do on Pinterest.
Does Tailwind still work as well as it used to?
Yes. Pinterest officially partners with Tailwind as a Pinterest Marketing Developer Partner, which means scheduled pins through Tailwind are treated the same as manually posted pins. There’s no reach penalty for scheduling.
Can I reuse Ideogram images across multiple posts?
No. Each image should be unique to the post it links to. The headline on the image should match the pin title and the post topic. Using the same image with different URLs will confuse both Pinterest and the reader who clicks.
How long does a full batch session take?
Once you have the workflow dialed in, roughly 90 minutes to two hours for a week’s worth of pins across five posts (15 pins total). The first few sessions will take longer while you’re building the habit. By week four it’s fast.
What if I don’t have enough posts to pin consistently?
Create multiple pin variations for the posts you do have. Three posts with five pin variations each gives you 15 pins to schedule — more than enough for a week. You don’t need a massive blog to run a consistent Pinterest strategy. You need focused content and consistent fresh creative.
Two hours, once a week.
That’s the whole time commitment.
The pins go out. The traffic compounds. The affiliate links keep earning whether you’re working or not.
Related
Discover more from Lori Ballen Digital Marketing
Subscribe to get the latest posts sent to your email.